Navigating PowerFAIDS
PowerFAIDS is a web-based application that you can access anywhere using your institution’s unique URL. You can access PowerFAIDS using the most recent and prior release of Chrome, Edge, Firefox, and Safari web browsers.
For more navigational support review the options below:
Logging In and Out of PowerFAIDS
Once your system administrator has set up your account, you’ll receive an email with your username and a temporary password you can change upon initial log in. You’ll also be required to set up multi-factor authentication.
Configure Multi-factor Authentication:
Multi-factor authentication enhances the security of your account by using a secondary device to verify your identity. This prevents anyone but you from accessing your account, even if they know your password.
To setup MFA you first need a supported MFA app on your smart phone or other device. Supported apps include Duo Mobile, Google Authenticator, Microsoft Authenticator, and Symantec VIP Access. Follow the instructions within the MFA app and scan the QR code when prompted. Then submit the six-digit authentication code to access PowerFAIDS.
If you have already configured MFA but want to reset it,
Tip: If you don’t have access to a smart phone with a supported MFA application, you can also enroll in MFA by using the Authenticator browser extension for Google Chrome which is available from the Google Chrome Web Store.
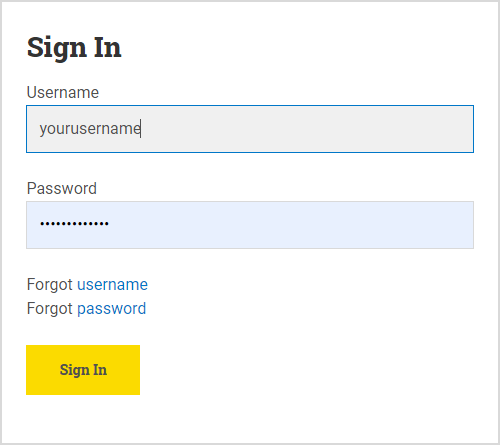
To login:
To logout:
Finding Account Information and Help Access
In the far right of the global header is where you can access your PowerFAIDS account information as well as the PowerFAIDS Online Help system.
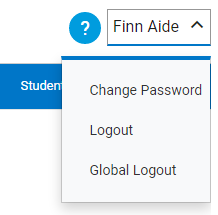
Select the expander ![]() next to your user name to display a list of the account management options you have access to, including the Logout option.
next to your user name to display a list of the account management options you have access to, including the Logout option.
Selecting Help ![]() next to your name provides access to PowerFAIDS Online Help and the latest Release Notes, as well providing in-application access to submit a support request. You can also select About to review the PowerFAIDS terms and conditions.
next to your name provides access to PowerFAIDS Online Help and the latest Release Notes, as well providing in-application access to submit a support request. You can also select About to review the PowerFAIDS terms and conditions.
Accessing the PowerFAIDS Modules
Directly below the search bar is the module navigation bar. This bar lists all of the modules you have access to in PowerFAIDS. Selecting the name of a module either opens that module.
|
|
Select the home icon to return to the home screen at anytime when you are in another PowerFAIDS module. |
|
|
Select the more actions icon to refresh data within the page you’re currently viewing or to mask/unmask personally identifiable information (PII) throughout the system. |
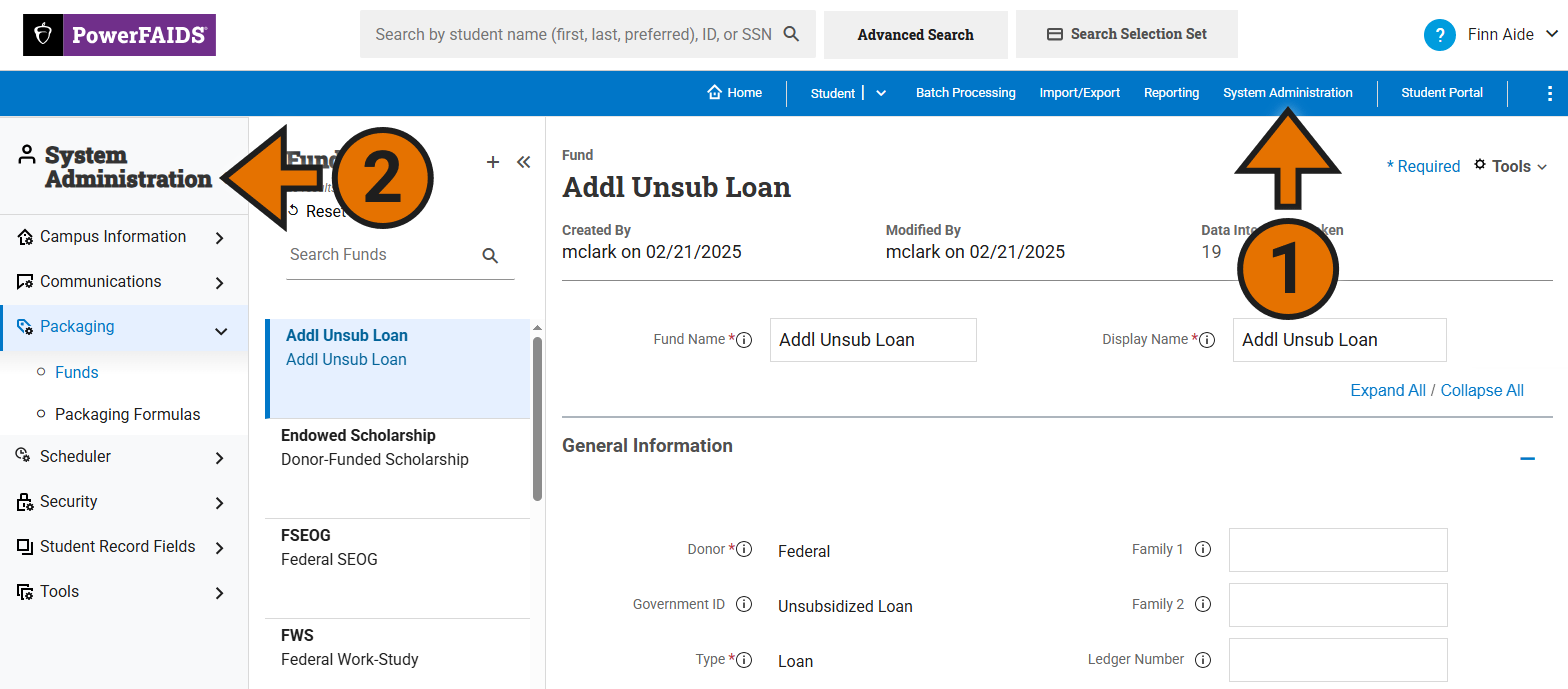
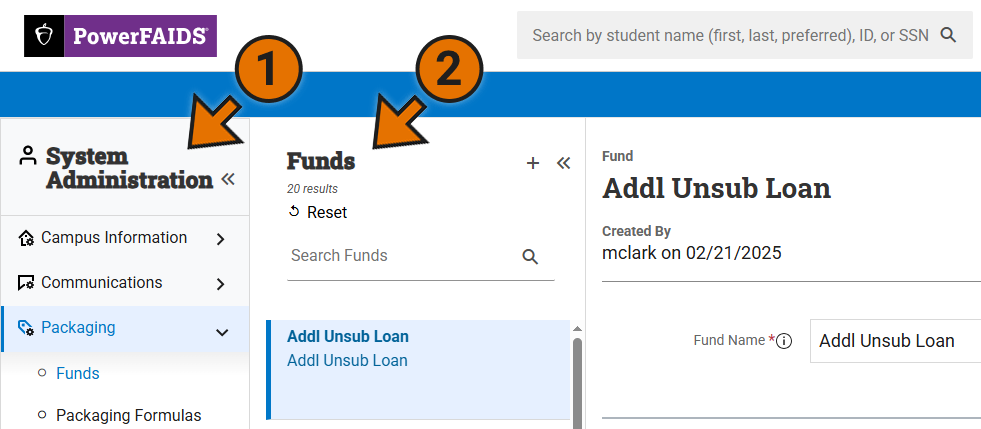
Once you select a module in the module navigation bar (1), you will see the options for that module in the left navigation menu (2).
For more information about the features within each of these modules, see the following pages:
Using the Search Bar and Reviewing Results
At the top of every page is the global header. Within the global header you can search for students in one of three ways. For more information on searching, review Searching for Student Records.
- Basic Search - Here you can search for students, or groups of students, by entering a single name (first, last, or preferred), SSN, or student ID, or a list of any of these identifiers.
- Advanced Search - Selecting Advanced Search opens the Advanced Search window where you can specify more advanced search criteria to locate the student, or group of students, you want to work with.
- Selection Sets - Expanding this menu displays a list of all selection sets that are available to you in PowerFAIDS. Selecting a selection set returns all students in that selection set.
Tip: When entering multiple names into the basic search bar, first and last names are not grouped in the search, meaning that the system will search for records containing any combination of the two names. For example, entering "John Smith, Jane Doe, Bob Red" will search for records containing any combination of those six names as opposed to looking for three full names.
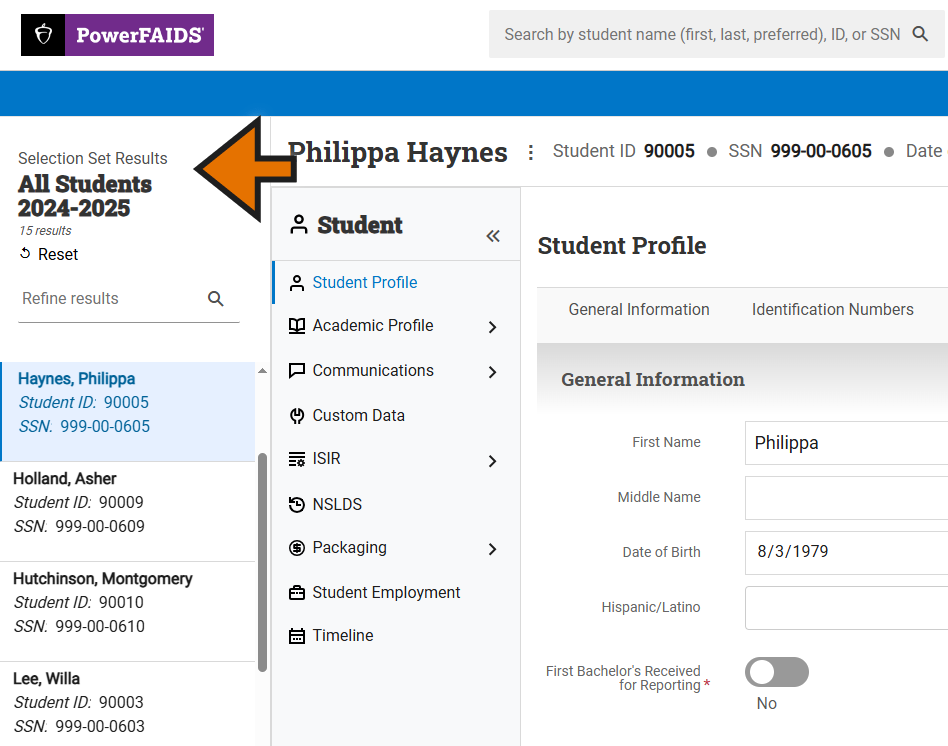
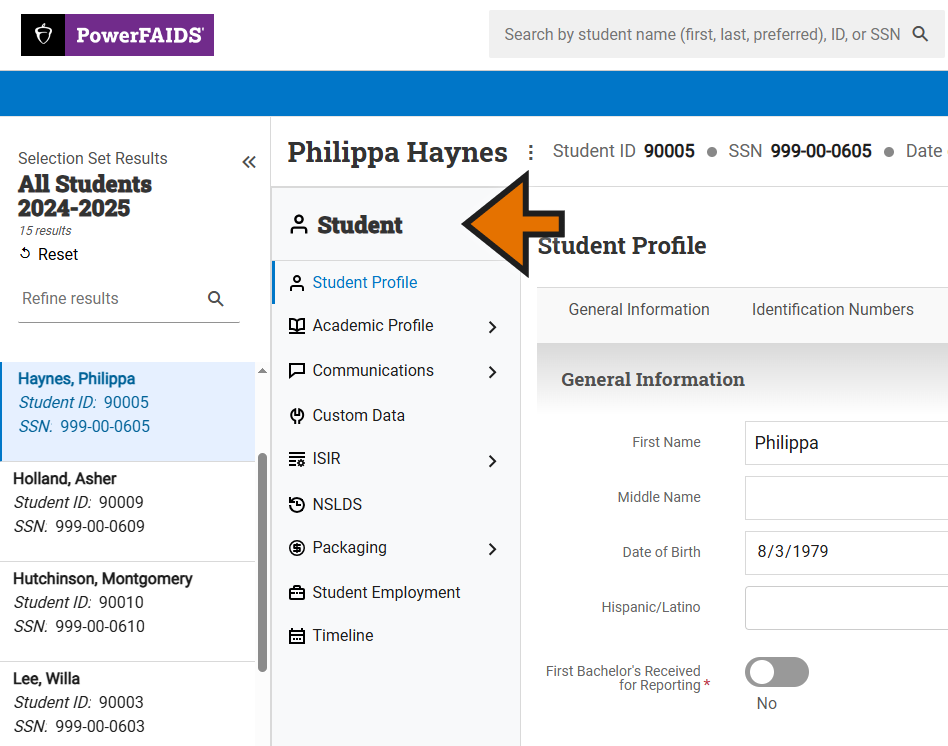
In the Student module, once you conduct a basic search, advanced search, or access a selection set, the results from your search are displayed along the left navigation bar.
Selecting name in the search results displays the student record in the main workspace.
Navigating Student Records and System Administration
Directly to the right of the search results in the Student module, is the record navigation. The record navigation displays links to all of the options available for the selected record.
For more information about each area of the student record, see the articles available in the Student module.
For System Administration, the module navigation is along the left navigation bar (1) and any corresponding entities available for your institution - such as funds - are listed in the middle pane (2).
For more information about each entity available in System Administration, see the articles available in the System Administration module.
