Working with Tables in PowerFAIDS
There are many customization options available within the tables found throughout PowerFAIDS so that you can use and organize the data to your liking.
These options can vary depending on the part of the system you’re working in, but typically include the following functionality:
-
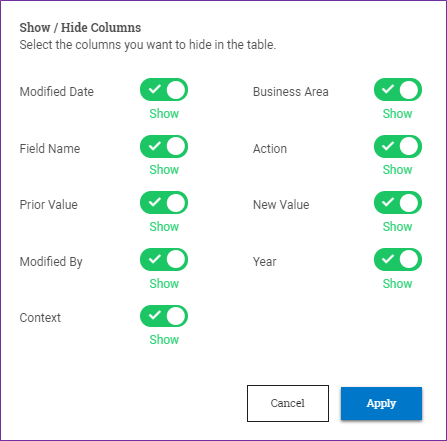
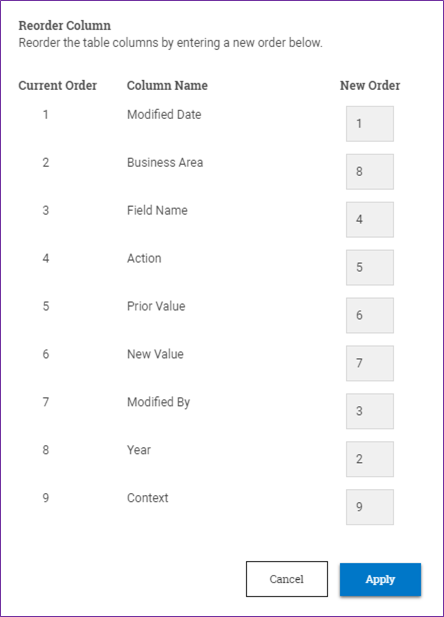
Show, hide, and reorder columns: From the Table Actions menu at the top left portion of the table, you can select Show / Hide Columns or Reorder Columns to specify which columns you want to include in the table and in what order.
-
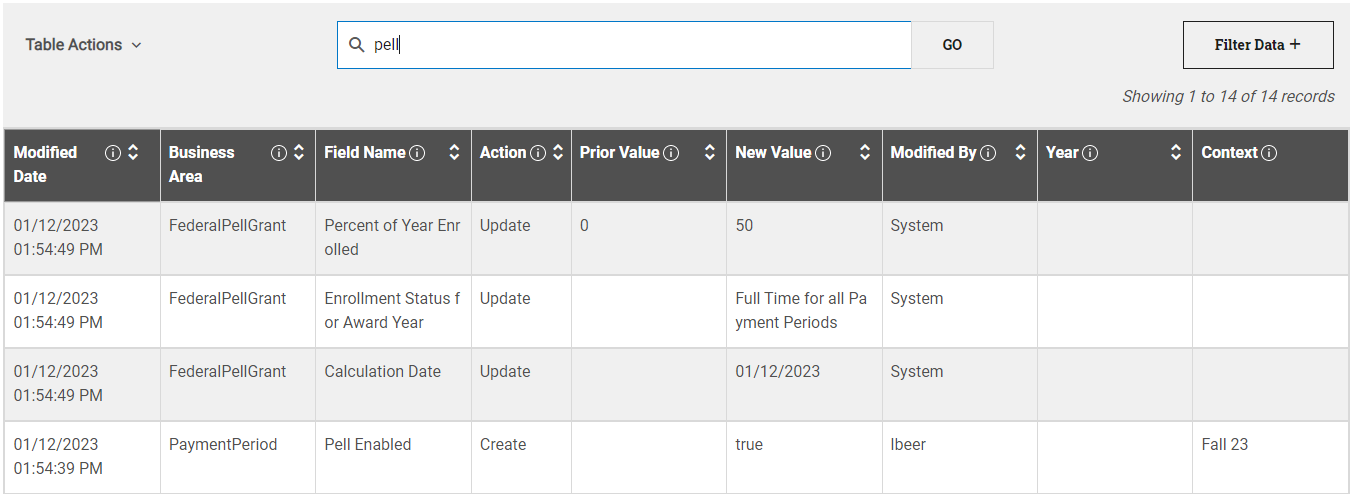
Search the data: If there is a specific piece of data you're looking for, you can use the search bar at the top center portion of the table to perform a search.
Note: In some cases you may have already entered search criteria in order to return the data within the table. The table search feature searches within the data that has already been returned, it does not re-query the database.
-
Filter the data: You can select Filter Data at the top right portion of the table to open a list of data elements you can filter the table by. For example, if you wanted to filter a results report to only see the packaging processes you initiated, you would select your username from the Run By list and apply that filter.
Tip: At any point, you can select Reset Table to revert the table back to its default settings.
-
Export and download the data: You can export and download the table in CSV file format by selecting Export/Download at the top right portion of the page.
For more information on table functionality, expand a specific feature below:
Table Actions Menu
The Table Actions menu gives you control over what data is displayed in the table. You can hide specific columns (or reinstate them) using the Show / Hide Columns feature, and you can organize the order in which the columns are displayed using the Reorder Column feature.
Show / Hide Columns
To change which columns are displayed in the table, complete the following steps:
Note: If you move to other parts of the system, the changes you’ve made to the columns will persist when you come back. Once you log out of PowerFAIDS however, the values are reset to the default settings.
Reorder Columns
To change the order columns are displayed in the table, complete the following steps:
Note: If you move to other parts of the system, the changes you’ve made to the columns will persist when you come back. Once you log out of PowerFAIDS however, the values are reset to the default settings.
Table Search Bar
The table search bar enables you to search within the data currently returned in the table. This search works as a CONTAINS filter, matching on the characters entered anywhere they appear within any field in the data.
Filter Data Expander
You can expand the Filter Data section on a table to filter the results by the value within a specific column. Once you select a value to filter on, it displays as a tag below the filter options.
You can select the remove icon (x) on a filter tag to remove it or continue applying additional filters from the available options. Once finished, select Apply Filters to return the filtered results.
Row Sorting
Data rows in the table can be organized using the sort icon displayed next to each table column header. When you select a sort icon ![]() , the data in the table is sorted based on the sort order of the column selected and the icon adjusts to display whether the column is sorting by ascending
, the data in the table is sorted based on the sort order of the column selected and the icon adjusts to display whether the column is sorting by ascending ![]() or descending
or descending ![]() order.
order.
If the data in the column is numeric, selecting the sort icon sorts the records in the table chronologically in ascending order. Selecting the sort icon a second time sorts the records in the table chronologically in descending order.
If the data in the column is alpha-numeric, selecting the sort icon sorts the records in the table alphabetically in ascending order. Selecting the sort icon a second time sorts the records in the table alphabetically in descending order.
Page Navigation for Multiple Page Tables
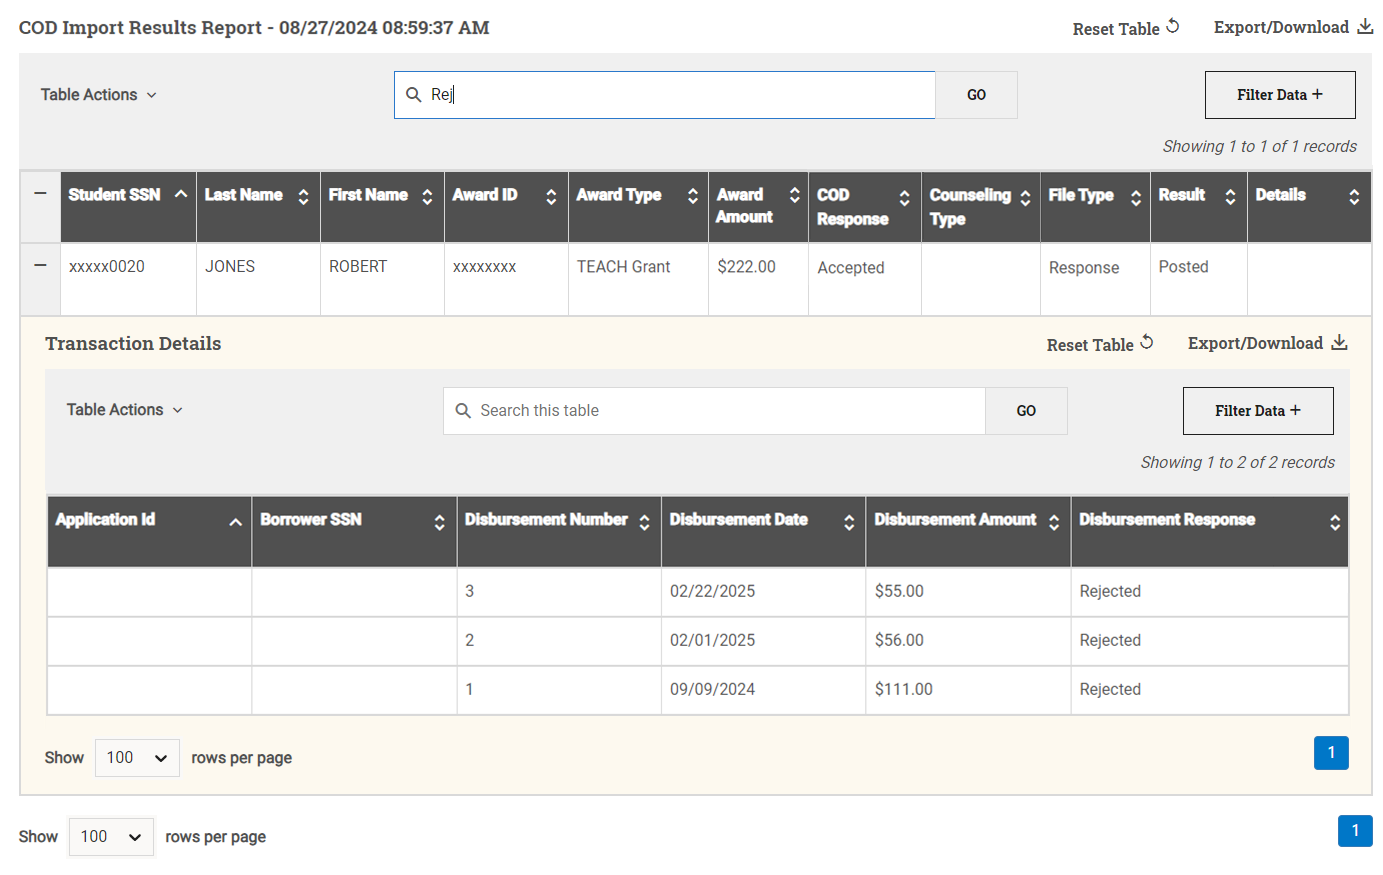
When data spans multiple pages in a table, additional navigation options are displayed at the bottom of the table to enable moving through the pages.
Select a value from the Show [x] rows per page list on the left to adjust the amount of data shown on each page.
Select a page number on the right to jump to a specific page, or select the next icon (>) or the end icon (>>) to jump to the next or last page respectively.
Reset Table Button
After using any of the above features to refine the data displayed within the table, you can always select the Reset Table option at any time to revert the data back to the original view.
When you select the Reset Table option, you are prompted to confirm the action before the reset is complete.
Export/Download Button
If available, the Export/Download option can be used to export the table details as a CSV file.
Note: Any search, filtering, or display options applied to the table will be similarly reflected in the downloaded copy of the data, so make sure to select Reset Table before downloading to include all data. If a table spans multiple pages, you will be prompted to select whether you want to download all pages or only the current page being viewed.


