Organizing Other Custom Data Views
Custom data placed on the Other Custom Data view is academic year-specific, and the layout of this page can be customized so that fields appear in different sections with section titles and descriptions you create. For example, perhaps you want to have a section in the student record specifically for data imported from the admission office. You could create a section from the Other Custom Data page titled Admission Data that includes those custom data points.
To organize custom data fields in the Other Custom Data view, complete the following steps:

Specify the basic details of the new section.
- Enter the Display Sequence for the section. This is the order the section is listed within the Other Custom Data section of the student record.
- Enter a descriptive name in the Section Name field. This is the name of the section that will be displayed in the student record.
- Enter a basic description or any other information you want your staff to have about the type of data you will be including in this section in the Section Description field. This description will be displayed under the section name in the student record.

Add the custom data fields you want to include in the section.
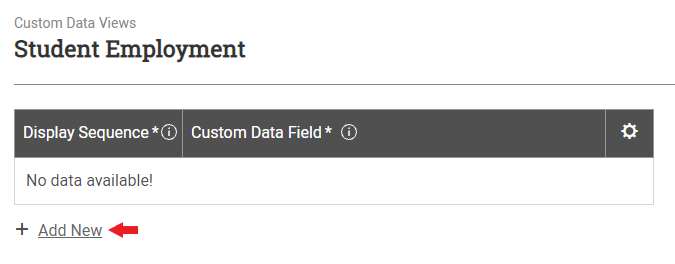
- Select Add New at the bottom left of the table.
- Enter the Display Sequence for the custom data field. This is the order you want the field to be listed in the associated Custom Data section of the student record.
- In the Custom Data Field column, select the custom data field you want displayed in this page of the student record from the dropdown list. This list includes custom data fields that have previously been created and associated with this area of the student record. To create a new field, see the instructions for creating custom data fields.
- Repeat the above steps for multiple custom data fields as needed.

Select Save.
A success message is displayed in the lower left portion of the page letting you know the custom data view has been updated.
