Custom Reports
Custom reports give you the ability to create reports tailored to the specific needs of your institution from any System Administration or Student data points in PowerFAIDS. For example, you could create a report that shows you what enrollment statuses look like across different populations of students, or you could create a report that shows all your school's academic years and their start and end dates. Whatever your objective, custom reports give you the ability to gather exactly the data you need from the system.
Some advantages to using custom reports include:
-
Flexibility to access all admin and student data: You can add any data point from the System Administration or Student modules to a report definition, giving you total control to export any types of reports you need.
-
Granular control of report filters: You can set additional filtering conditions to pinpoint the exact types and time frames of data you want to include in your report.
-
Efficiency of reuse for multiple student populations: Instead of being part of the saved report definition, the selection set of students to include in the report is specified each time the report is generated, so you can efficiently run the same report for multiple populations of students.
Before Creating a Custom Report
Before creating a custom report, it is helpful to first answer the following questions:
Once you've answered these questions, you're ready to begin creating and generating custom reports.
Elements of Custom Reports
There are three main components to custom reports:
Report Details tab
In the Report Details tab, you'll add all the data elements you want to include in the custom report definition, as well as how you want them ordered, sorted, and displayed in the report output.
Caution: When including fields containing personal identifying information (PII) in custom reports, data in those fields will be masked according to your masking settings. If you want to use a PII field in a custom report filter and have the Mask PII setting turned on, you will need to set it to Unmask PII prior to adding the field to your custom report definition.
Report Filters tab
The Report Filters tab is where you can set additional conditions for how you want to filter the data. For example, in a pending awards report, you might want to only include student records where the award status of one or more awards is equal to pending — ignoring any records where all awards are declined, canceled, or accepted.
You can also use report filters to specify time frames of data. For example, if you want to only pull in pending award data from the 2022-2023 academic year, you can add an additional filter to only target data from that specific year. Otherwise, the system will pull in pending award data from all academic years.
Generate Report window
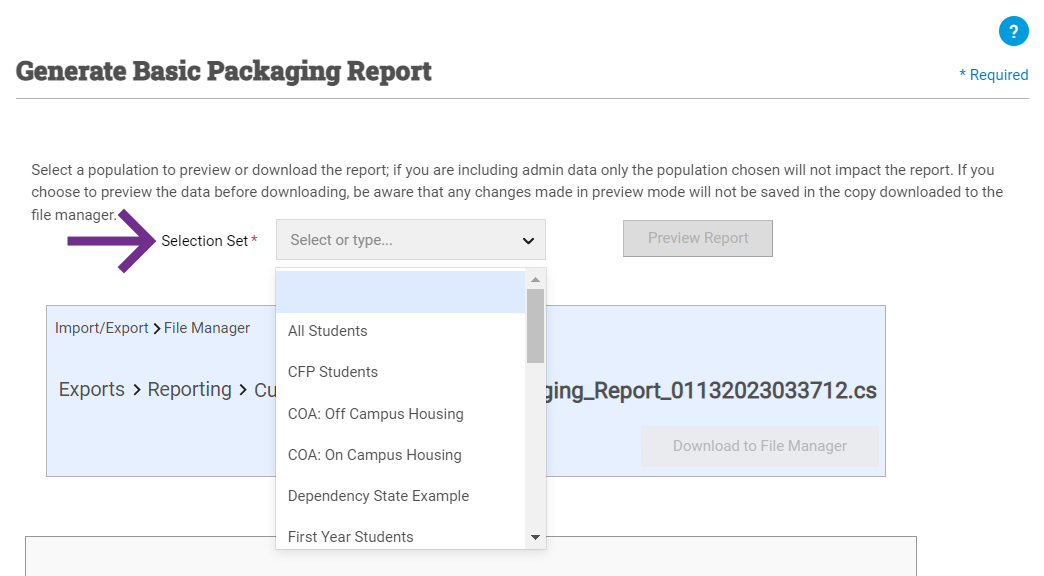
The Generate Report window is where you are prompted to choose the student population to include in the report from the Selection Set list.
Instead of being a part of the saved report definition, the targeted student population is specified each time the report is generated, giving you the flexibility to re-use the same report definition for multiple populations of students. See Generating a Custom Report for more information.
Suppose you want to create a basic packaging report for first year students in the Fall 2023 semester with the following information:
-
Student identifying data including Student ID, first name, and last name
-
Payment period information
-
Award information including amount, fund donor, and disbursement date
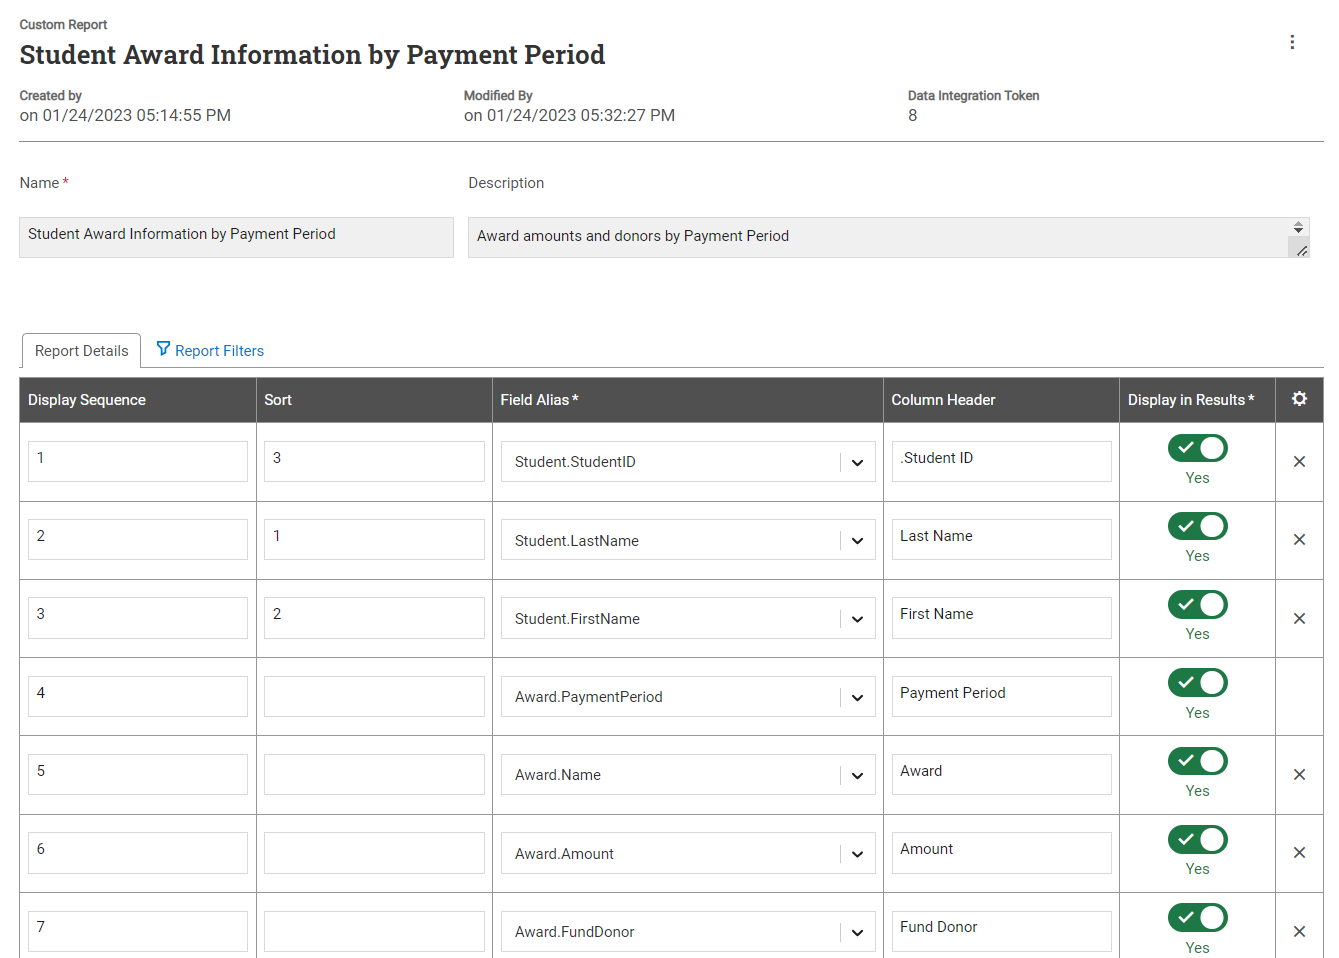
To export this information, you'd create a custom report titled something like "Student Award Information by Payment Period" and add the below field aliases to the report details.
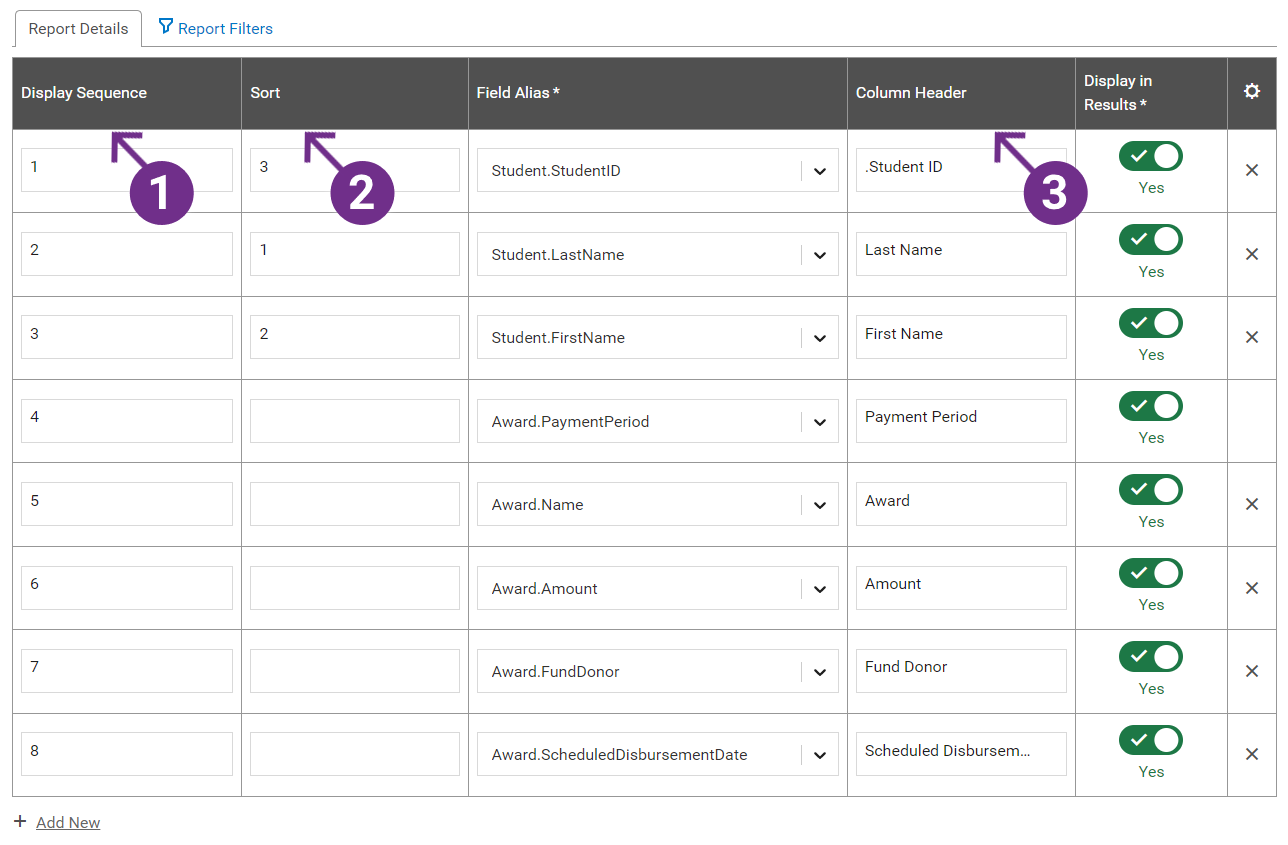
In addition to adding the above field aliases, you might also want to adjust the display and sorting of the data in the report, as noted in the image:
-
Display Sequence: This is the order in which the columns will appear on the report from left to right. So, in this example report, Student ID will be the first column, and Scheduled Disbursement Date will be the last column.
-
Sort: This lets you specify which columns you want sorted and in what order, sorting on the lowest number first and the highest number last. In this example, the data would be sorted alphanumerically by student last name, then first name, then Student ID.
-
Column Header: This is the text that will display in the column headers of your report. The column header will automatically populate with the text of the Field Alias selected, but you can edit it to say whatever you want that column to be called in your report. In this example, the column header text has been updated to just be the name of the fields rather than their full field aliases.
Note: You may also choose to leave the Display Sequence field blank for one or more rows, and PowerFAIDS will display the fields with a display sequence number first, then display the remaining fields in alphabetical order.
Note: You may also choose to leave the Sort field blank, and PowerFAIDS will sort the data in alphanumeric order.
Once you've saved the report details, you'll need to add a report filter telling PowerFAIDS to only include data from the Fall 2023 payment period by adding the condition, "Award.PaymentPeriod = Fall 2023."
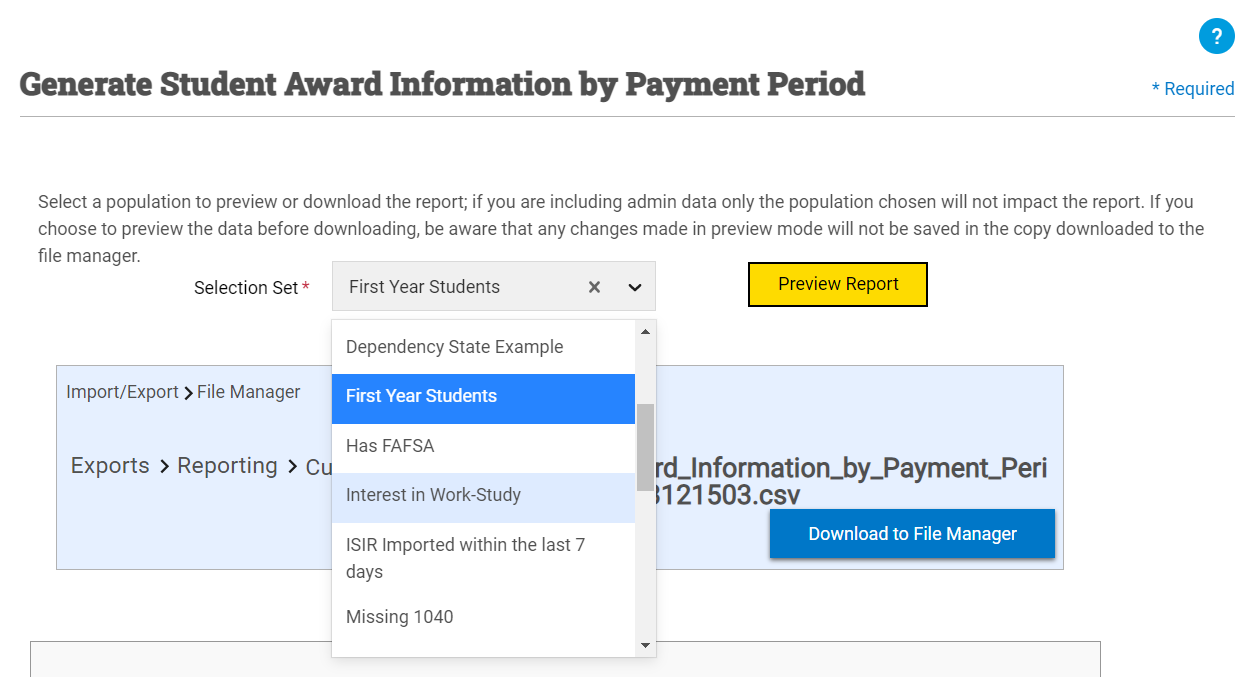
Once you've saved the report filter, the packaging report definition is complete, and you can generate the report. Because you want to export packaging data for first year students, you would choose the selection set representing this population from the Selection Set list in the Generate Report window.
After the report has been generated, you can download the packaging report to the File Manager, then export it to your device.


