Adding a Note to a Student Record
Notes are created within the Student module, under Communications > Notes. To add a new note, simply select the Add Note button at the top right of the screen to open the Add Note modal. Here, you can write the content of the note in the text editor and specify data points about the interaction including the interaction type (phone, email, etc.), reason for the interaction, and the subject of the note. If the interaction was academic year-specific, the associated academic year can be specified as well.
This modal also gives you the ability to turn on the following options:
-
Notify: Turning on this setting notifies other staff of the presence of a note. When the Notify toggle is on, a Notification icon
 will appear under the Actions column on the Notes page, and an interactive Notification icon
  will appear on the student record header to direct other staff to the note.
 -
Archive: Marking a note as Archived will move it to the bottom of the Notes page, so other staff won't have to sort through notes that are no longer relevant. Setting this toggle to Yes will also remove the Notification icon from the student record header if the note had the Notify toggle set to Yes.

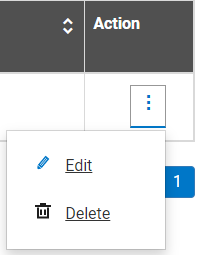
Once you've added all the information you want to include in the note, click Add and the note will be saved and added to the student's record. If a note was added in error, or you need to make changes, select the More Actions menu ![]() in the Action column of the Notes table and select Edit or Delete.
in the Action column of the Notes table and select Edit or Delete.